Welcome to my Pax vaporizer cleaning guide. The Pax is elegant, discreet, and extremely portable. However, it requires some maintenance to keep it up to expectations. Pax also states in the warranty that neglect of proper cleaning procedures could void the warranty, so it’s important to try and keep a cleaning routine.
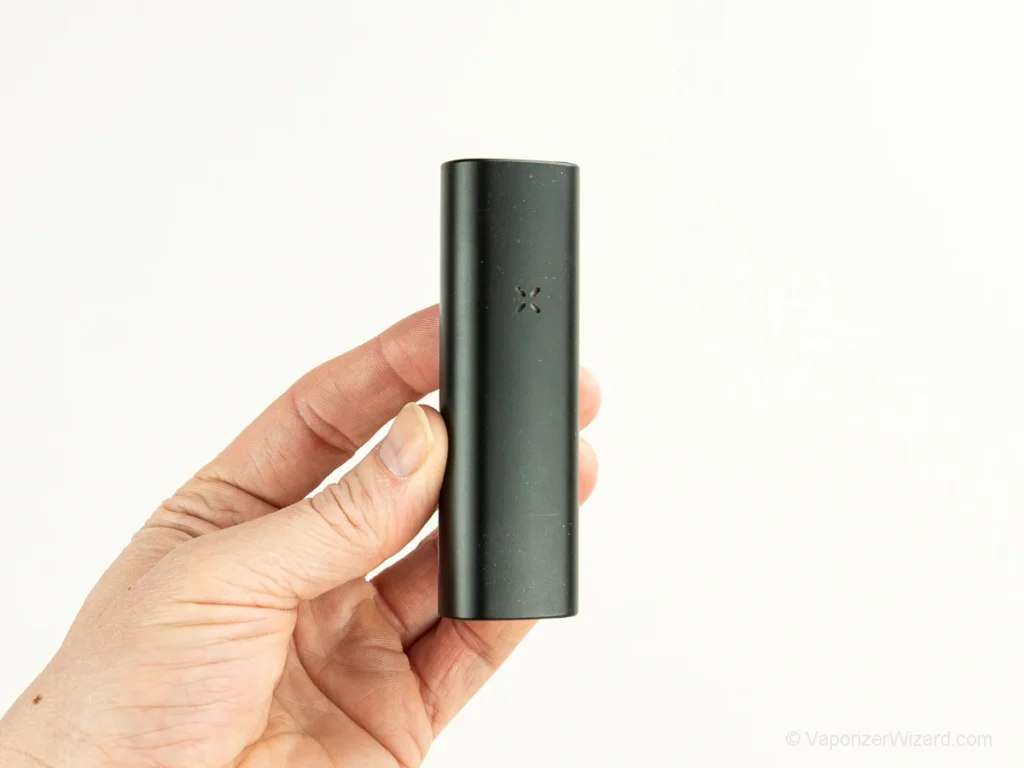
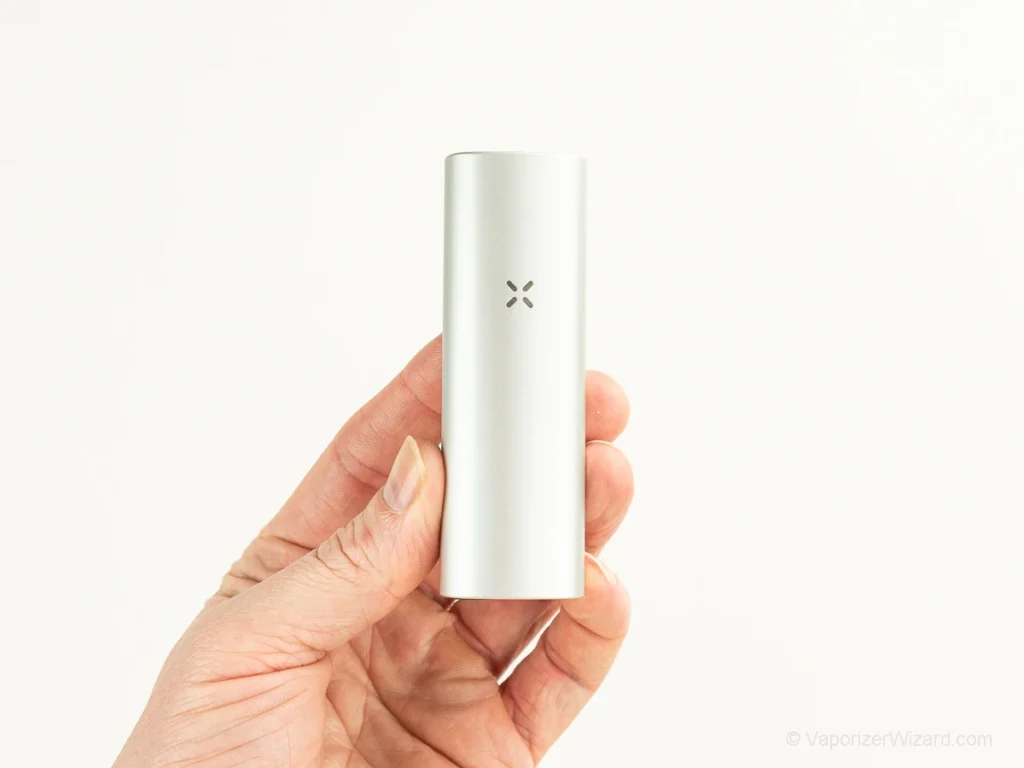
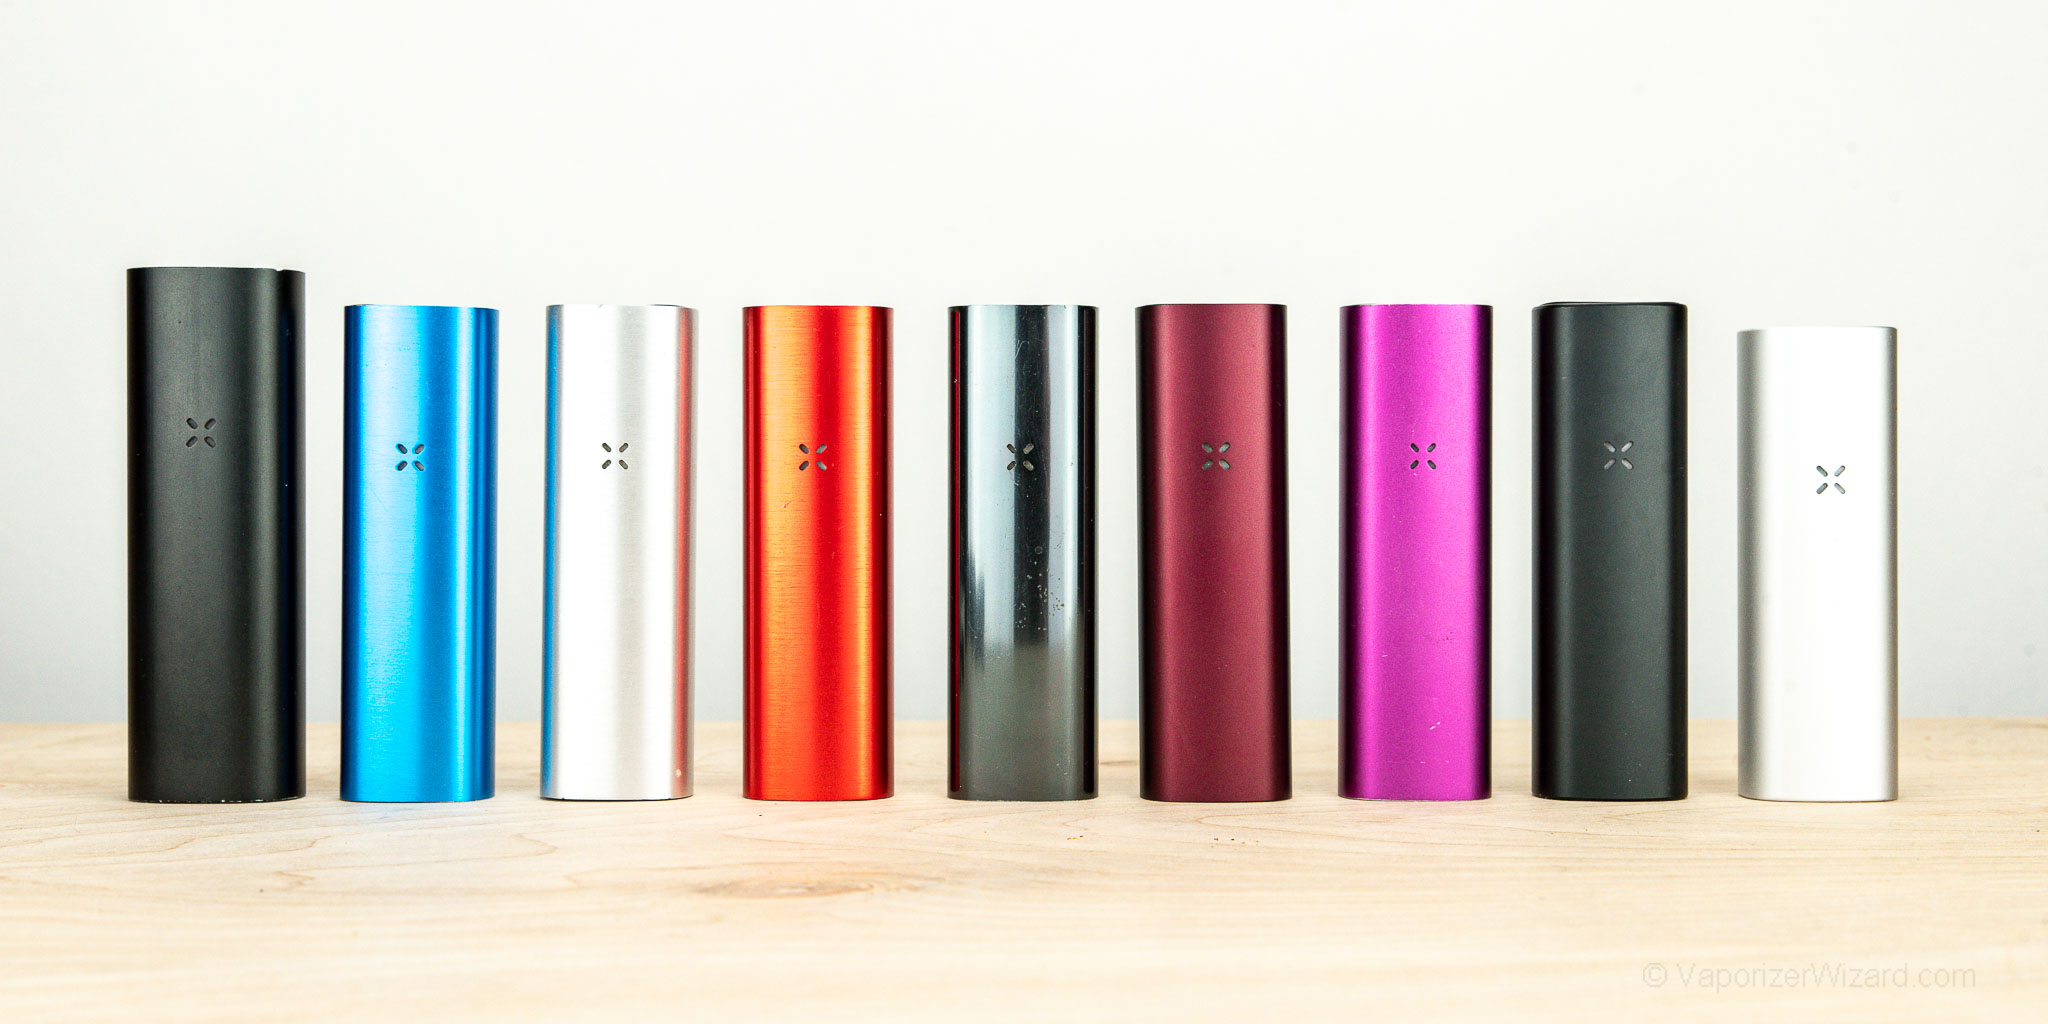
This article will cover how to clean the Pax Flow, Plus and Mini vaporizers, but it will also work with the Pax 3 and Pax 2 vaporizers. Check out my Pax Plus Review and Pax Mini Review for more detailed information about the new Pax dry herb vaporizers. I will update this page when I’m finished up with my Pax Flow review.
Table of Contents
How to Clean the Pax Vaporizers
Here is a quick cleaning tutorial for the Pax Plus and Pax Mini:
- Remove materials from the device immediately after a session.
- Brush out any remaining materials from the oven.
- The biggest precursor to knowing when to clean is draw resistance.
- Harder to pull = debris/resin stuck in the vapor path.
- Remove the top mouthpiece, remove the screen, place a small amount of iso on the brush, and swap out the stainless steel vapor path.
- Swab out the oven, screen, and mouthpiece area with a small amount of iso on a Q-tip.
- Let everything dry, replace the screen in the oven, and you’re ready to go.
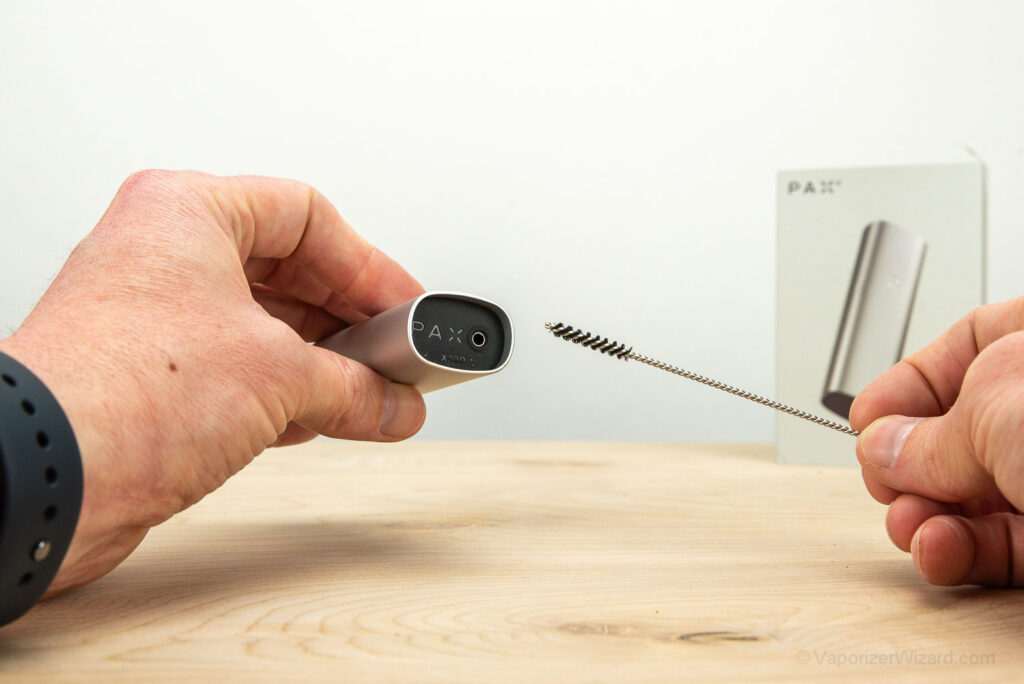
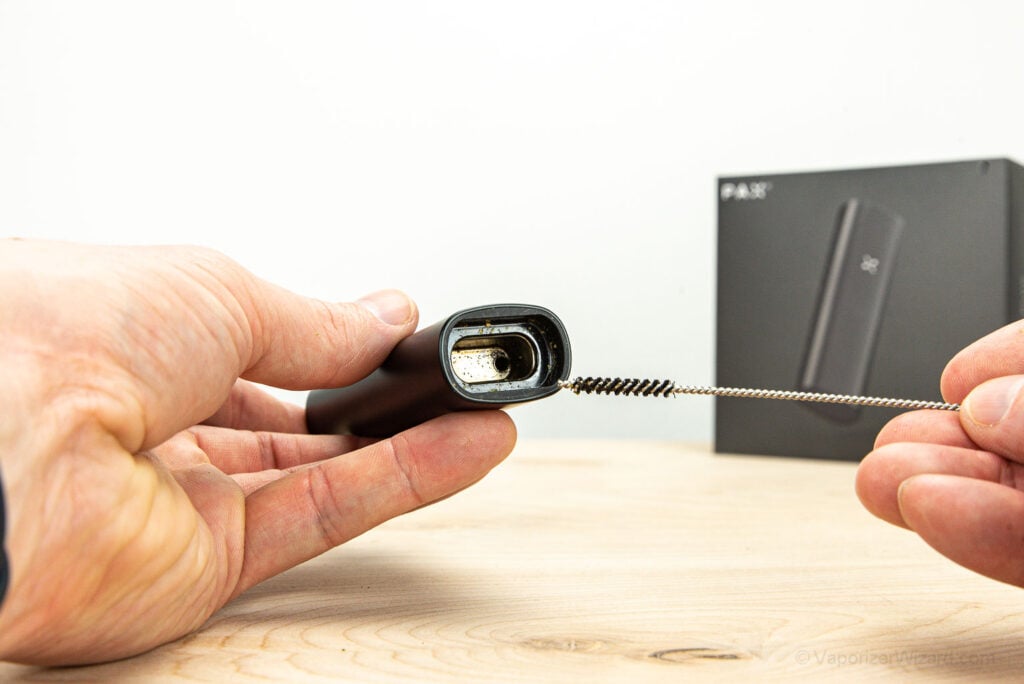
Overall, the new Pax Mini and Pax Plus are easy to clean. Both packages have a cleaning kit with a stainless steel wired brush. All you need to do is place a little bit of ISO on the brush and push it through the vapor path. This brush is the perfect size to slide through the vapor path and clean up any debris/resin from the flower.
This process takes less than five minutes, and there’s really not much else to do other than taking a Q-tip with some ISO to the chamber and wiping down the mouthpiece.
One thing they actually upgraded is the chamber screen. The bottom screen is now a 3D printed screen and, overall, much easier to remove for cleaning. The old Pax 3 screen was a pain to remove, especially when the unit was dirty.
I also think that the new 3D printed screen has slightly improved the overall air flow, but the average person probably wouldn’t notice.
When to Clean the Pax Vaporizers
You’ll know it’s time to clean your Pax Mini/Pax Plus when the draw resistance starts to increase. Meaning it will be harder to pull through the device because resin from the flower will stick to the side walls of the vapor path. You’ll also notice the taste will slightly drop off over time because you’re heating up the resin within the vapor path along with the fresh flower in the oven.
Frequency—I run the wire cleaning brush through the chamber after about 5-10 bowls. I know that’s a wide range of use, but it all depends on how exactly you use your Pax vaporizer and what kind of flower you use. Some flowers will leave behind more resin than others.
Pax Plus & Pax Mini Maintenance
One of the most important things to do with ALL dry herb vaporizers is to remove the flower from the oven immediately after you are done with a session. This stops resin from running down the vapor path after a session and will help keep the unit cleaner and functioning properly for longer.
Remember, you can keep your AVB (Already Vaped Bud) and use it to make butter, oils, tinctures, etc. For more information, check out my tutorial on how to make CC Cookies with AVB Cannabutter.